Updates, backup and reset
Everything about looking after your controller is on Settings → System.
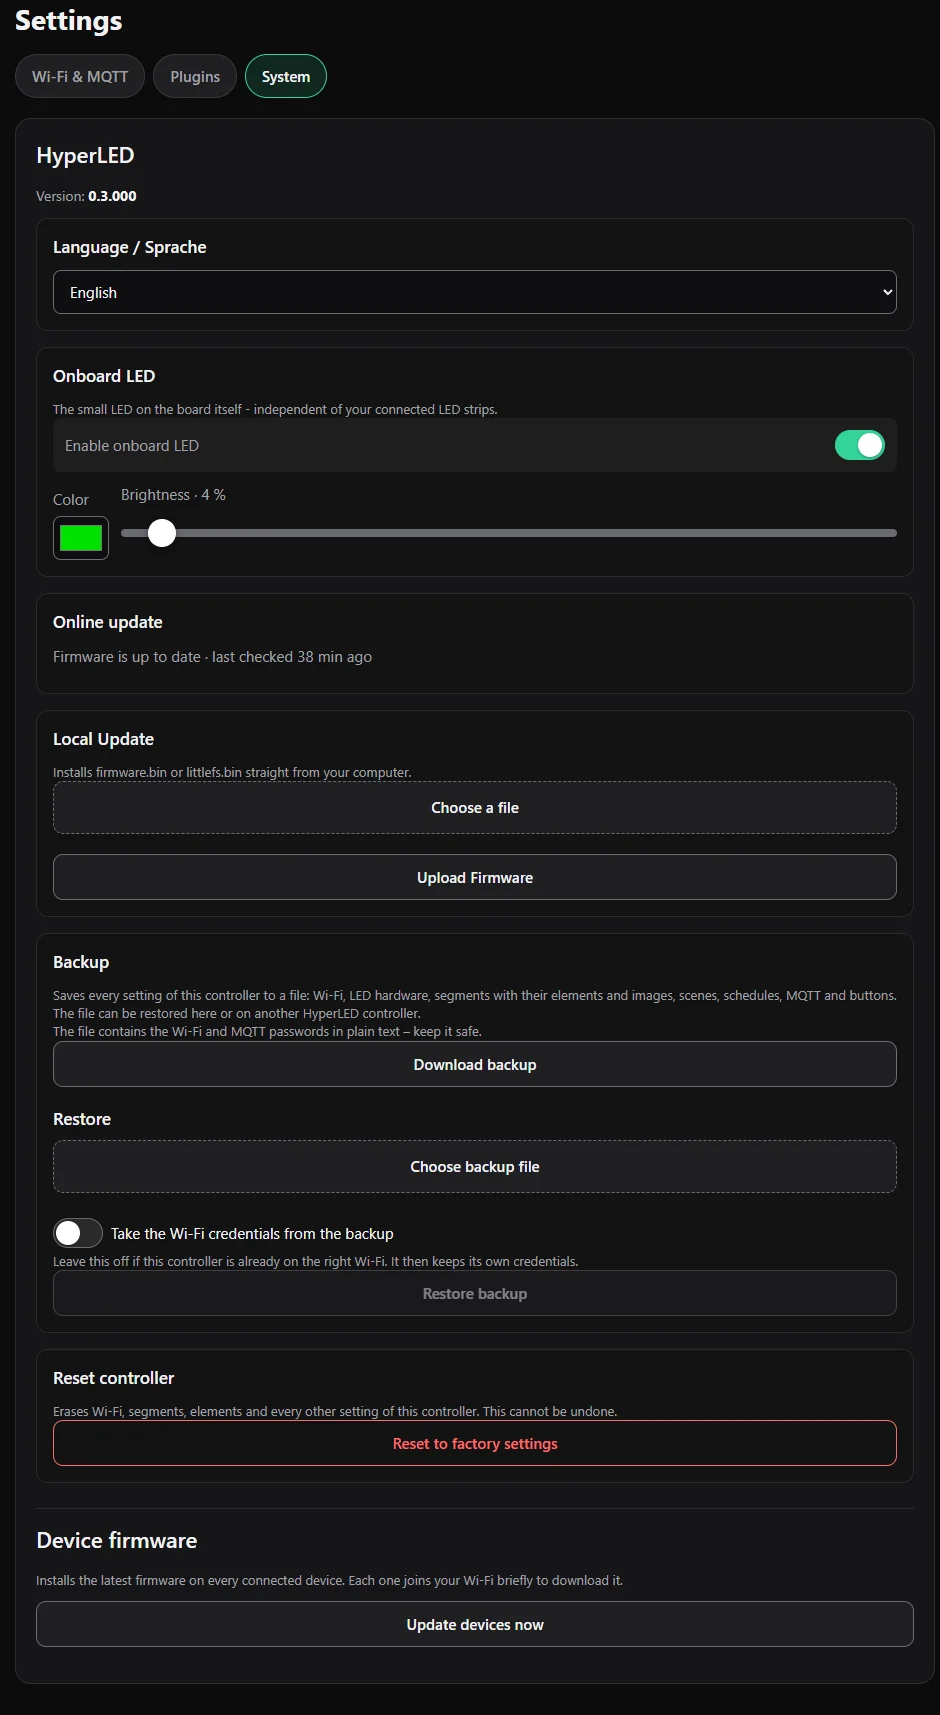
Online update
HyperLED checks for a new version by itself a minute after it starts and then twice a day. The Online update section shows the result, for example Firmware is up to date · last checked 38 min ago. Press Check for Update to look right now.
When a new version is available, press Install update. The controller downloads the new firmware and the new web interface, installs them and restarts. It needs a working internet connection.
Your scenes, playlist, schedules and pictures are kept.
The update files are the firmware-esp32s3.bin and littlefs-esp32s3.bin (the files for your chip) in the Releases of the repository. The controller fetches them on its own; you do not need to download anything.
Updates also work from Home Assistant, through the Firmware entity (see Home Assistant and MQTT).
If an update is refused because the new firmware no longer fits into the update slot (this can happen on controllers that were first flashed with a very early version), flash the current version once over USB as in Install the firmware. After that online updates work again.
Local update (from your computer)
Under Local Update you can upload a firmware-esp32s3.bin or littlefs-esp32s3.bin file from your computer, for example when your controller has no internet. Download the files from the Releases, choose a file and press Upload Firmware.
Update the Slaves
Device firmware → Update devices now installs the latest Slave firmware on every connected device. Each Slave joins your Wi-Fi briefly to download it. Slaves are updated remotely, and the Wi-Fi password is handed to them encrypted.
Backup
Under Backup press Download backup. You get one file with all settings of this controller: Wi-Fi, LED hardware, segments with their elements and images, scenes, schedules, MQTT, buttons and plugins.
The file contains your Wi-Fi and MQTT passwords in plain text, and the passwords of plugins. Keep it safe and do not share it.
Restore
- Under Restore choose your backup file.
- Decide about Take the Wi-Fi credentials from the backup. Leave it off if this controller is already on the right Wi-Fi, so it keeps its own credentials. Switch it on when you restore to a brand-new controller that does not know your Wi-Fi.
- Press Restore backup. The controller checks the file, replaces all settings and restarts.
A backup also works on another controller, which is handy when you replace a board.
Reset to factory settings
Under Reset controller press Reset to factory settings. This erases Wi-Fi, segments, elements and all other settings and cannot be undone. The controller restarts and offers the HyperLED-AP network again, as after the first installation. Make a backup first if you may want your settings back.
Other settings on this page
- Language: German, English or Russian.
- Onboard LED: the small LED on the board itself: switch it on or off and set its colour and brightness. It is independent of your LED strips and always signals problems, even when it is switched off.